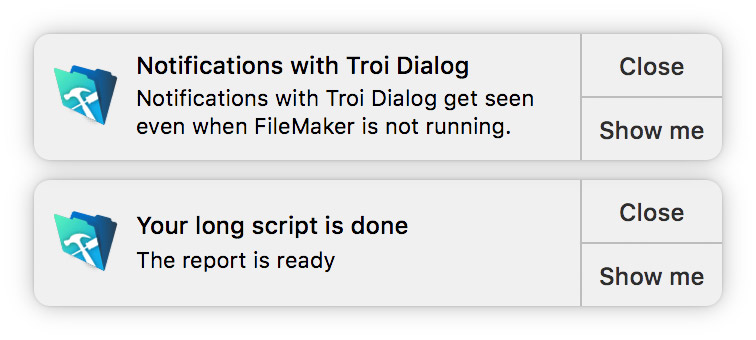
Troi Dialog Plug-in adds the notifications functionality to FileMaker Pro. Below you see a few example notifications:
To get the notification functionality of Troi Dialog Plug-in working you need to allow FileMaker Pro to show notifications. We will explain how to do this for macOS Catalina.
The easiest way you can allow notifications is by scheduling a notification for the first time. You can do that with the Dial_ScheduleNotification function or the Schedule Notification script step of the plug-in. We provide an example for doing this in the download:
- Open the Notifications.fmp12 example file.
- Click on the show simple notification button.
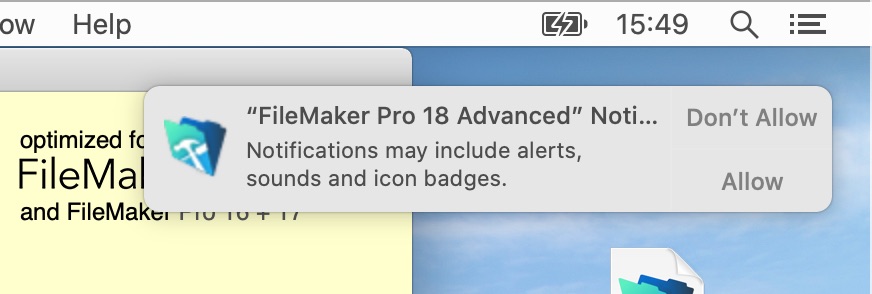
- macOS will now show a notification requesting access:
Click on Allow and you are all set. You can now schedule notifications. You might want to configure how notifications are shown, see below on how to do this.
If no notifications show and macOS does not ask permission
If, for some reason, scheduling a notification does not produce the notification, it might be that access for FileMaker Pro was already denied earlier. You can change this preference in system preferences:
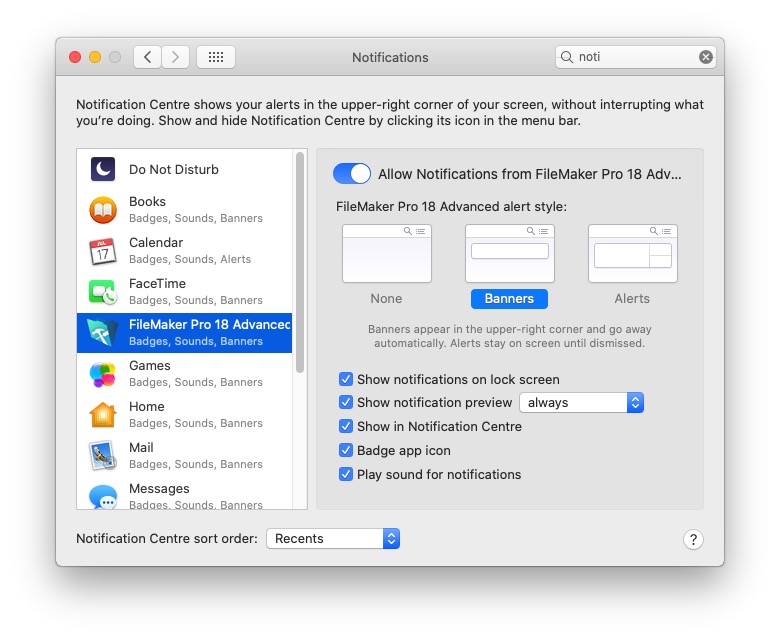
- Go to System Preferences -> Notifications.
- In the list on the left find and select FileMaker Pro 18 Advanced (or the FileMaker version you are using).
- Then on the right enable Allow Notifications from FileMaker Pro 18 Advanced.
- Also set the alert style to Banners or Alerts
- Finally configure the other checkboxes
Below you find a screenshot of the Notifications preference panel:
How to proceed further
In the download of the Troi Dialog Plug-in we provide the Notifications.fmp12 example file to help you get started quickly, with more details on how you can use notifications. You can download the demo of Troi Dialog Plug-in here.


